


As the creeks and streams subside, now is a good time to walk the river to look for tracks. Plus when it’s hot, Koda loves it too. I put on my water sandals and shorts, stash my backpack with all the items I need to cast prints, and head for Sunlight Creek.
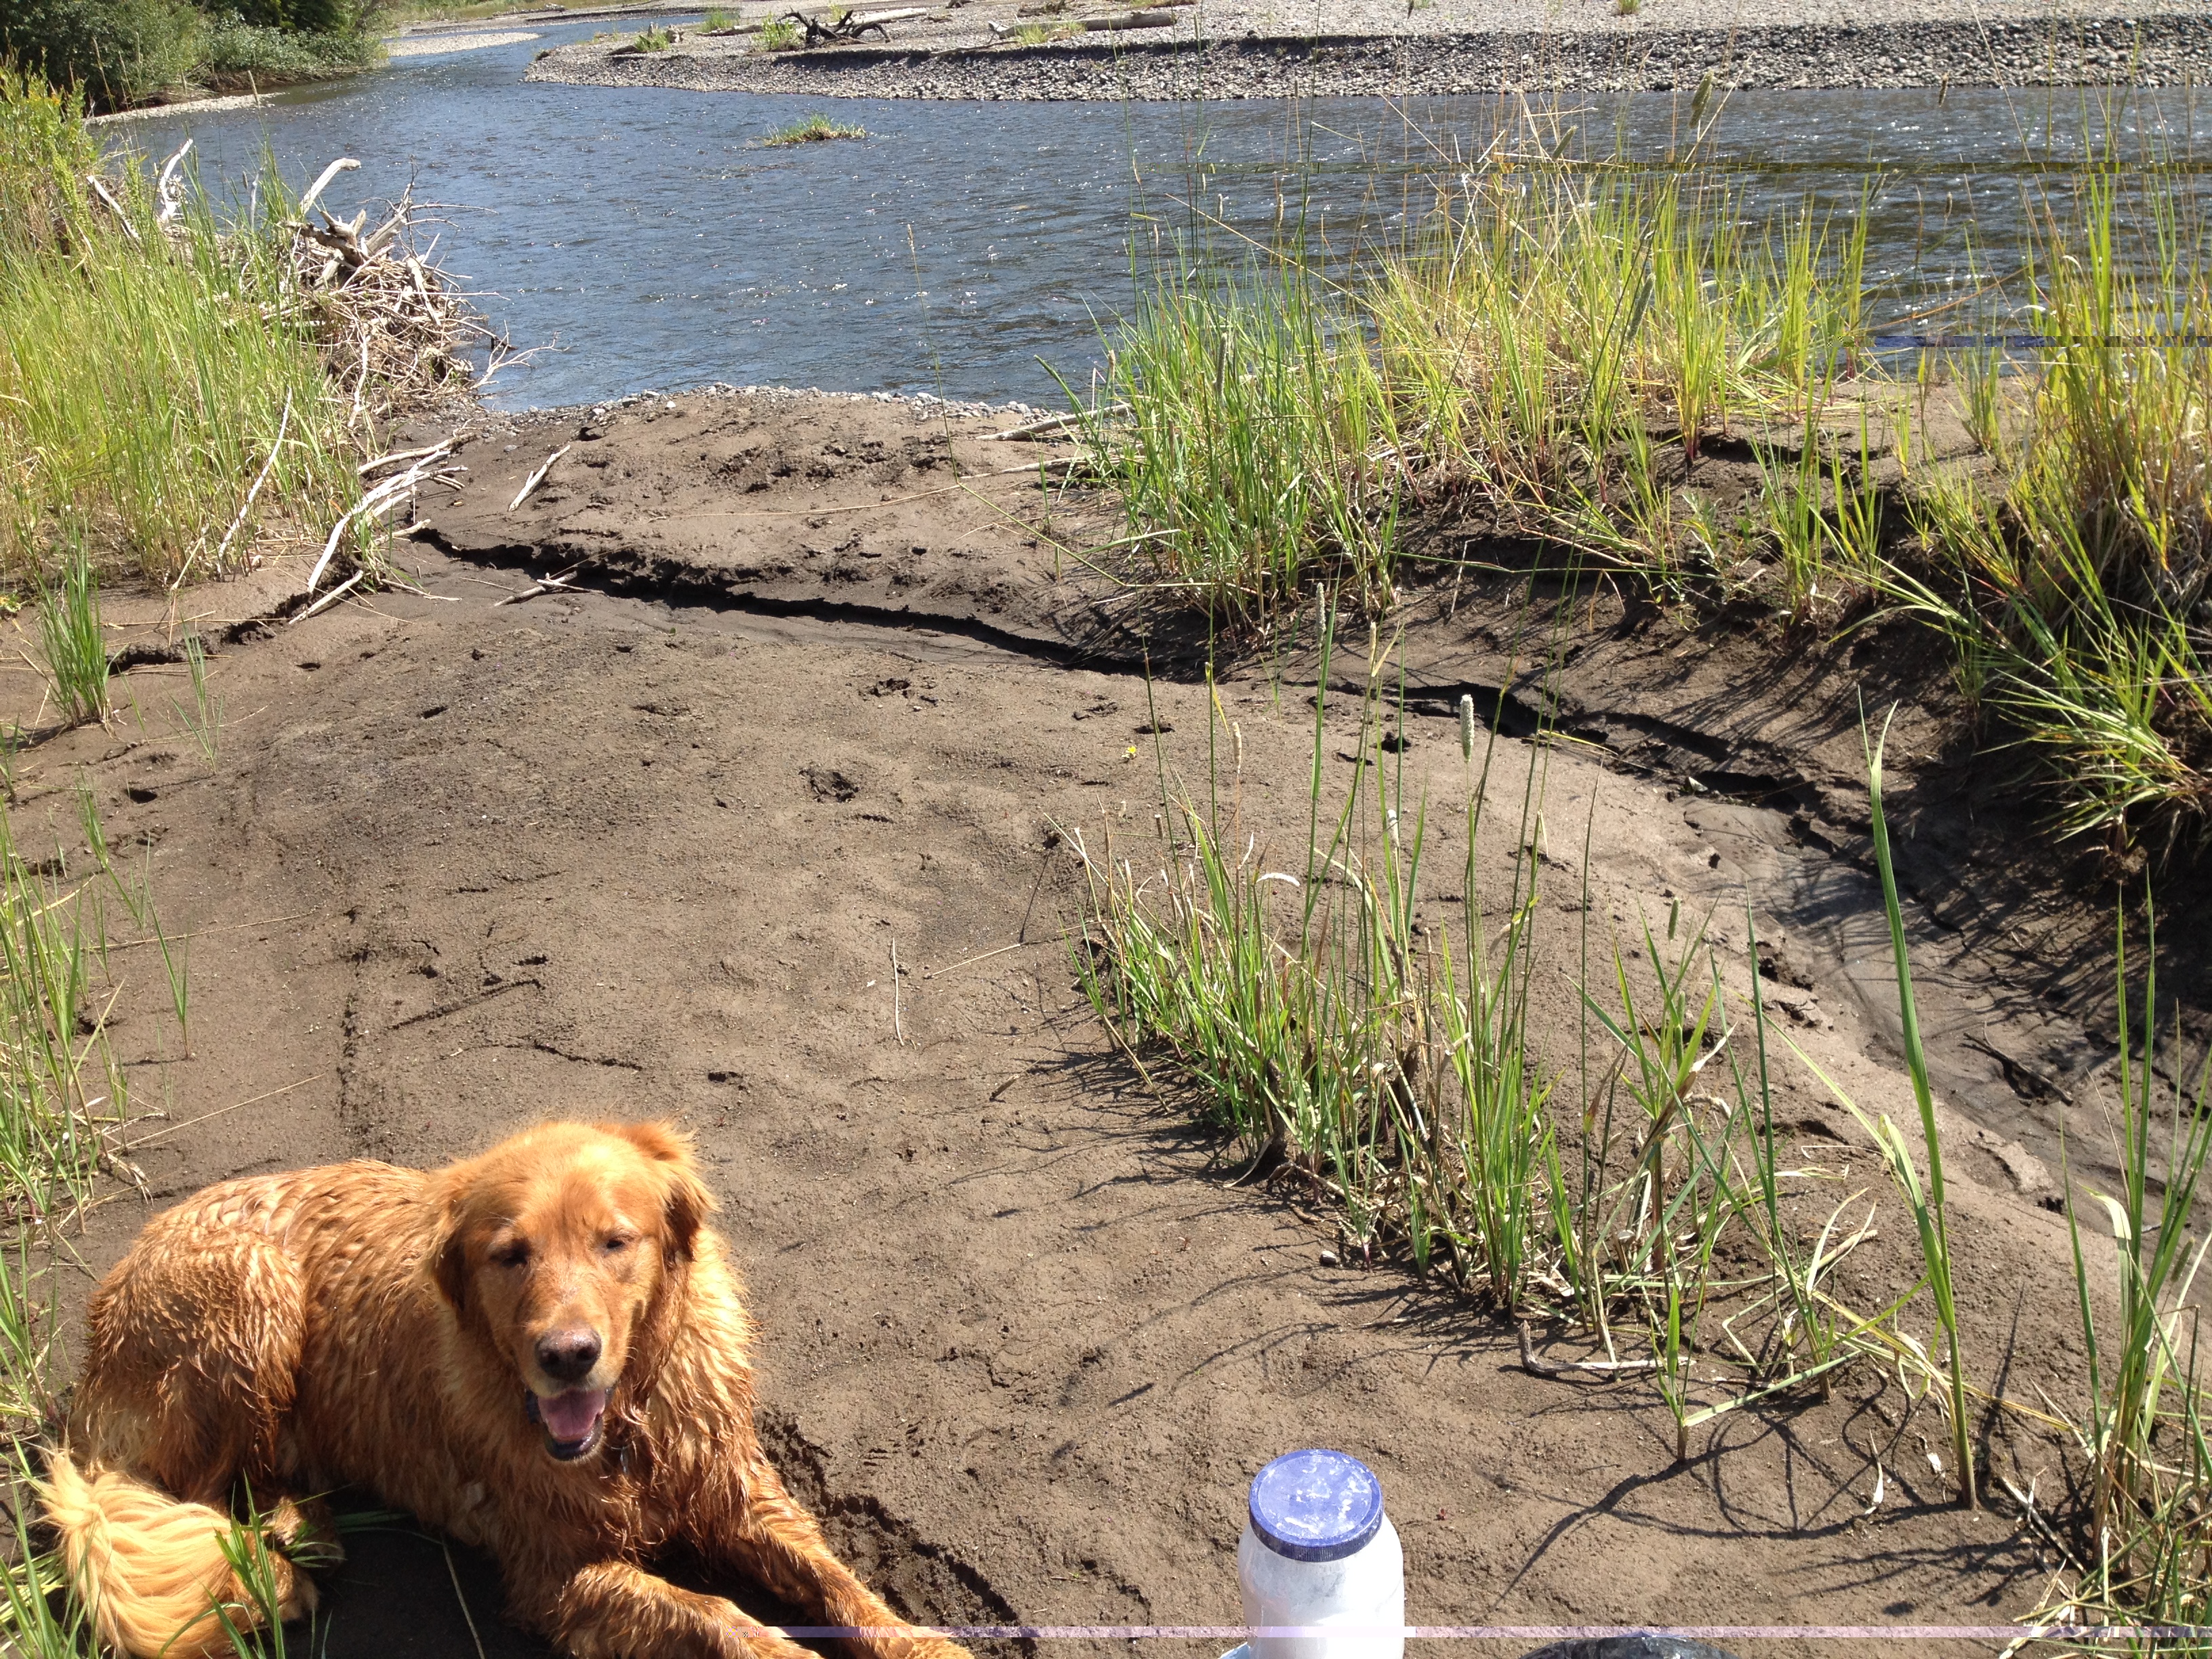
Where I found the tracks.
This time of year one might find resident animal tracks, like badger or mink. Moose and deer are always around the creek. In the fall grizzlies come down to investigate hay fields, berries, and gut piles from hunter kills. They’ll walk the river as a corridor.
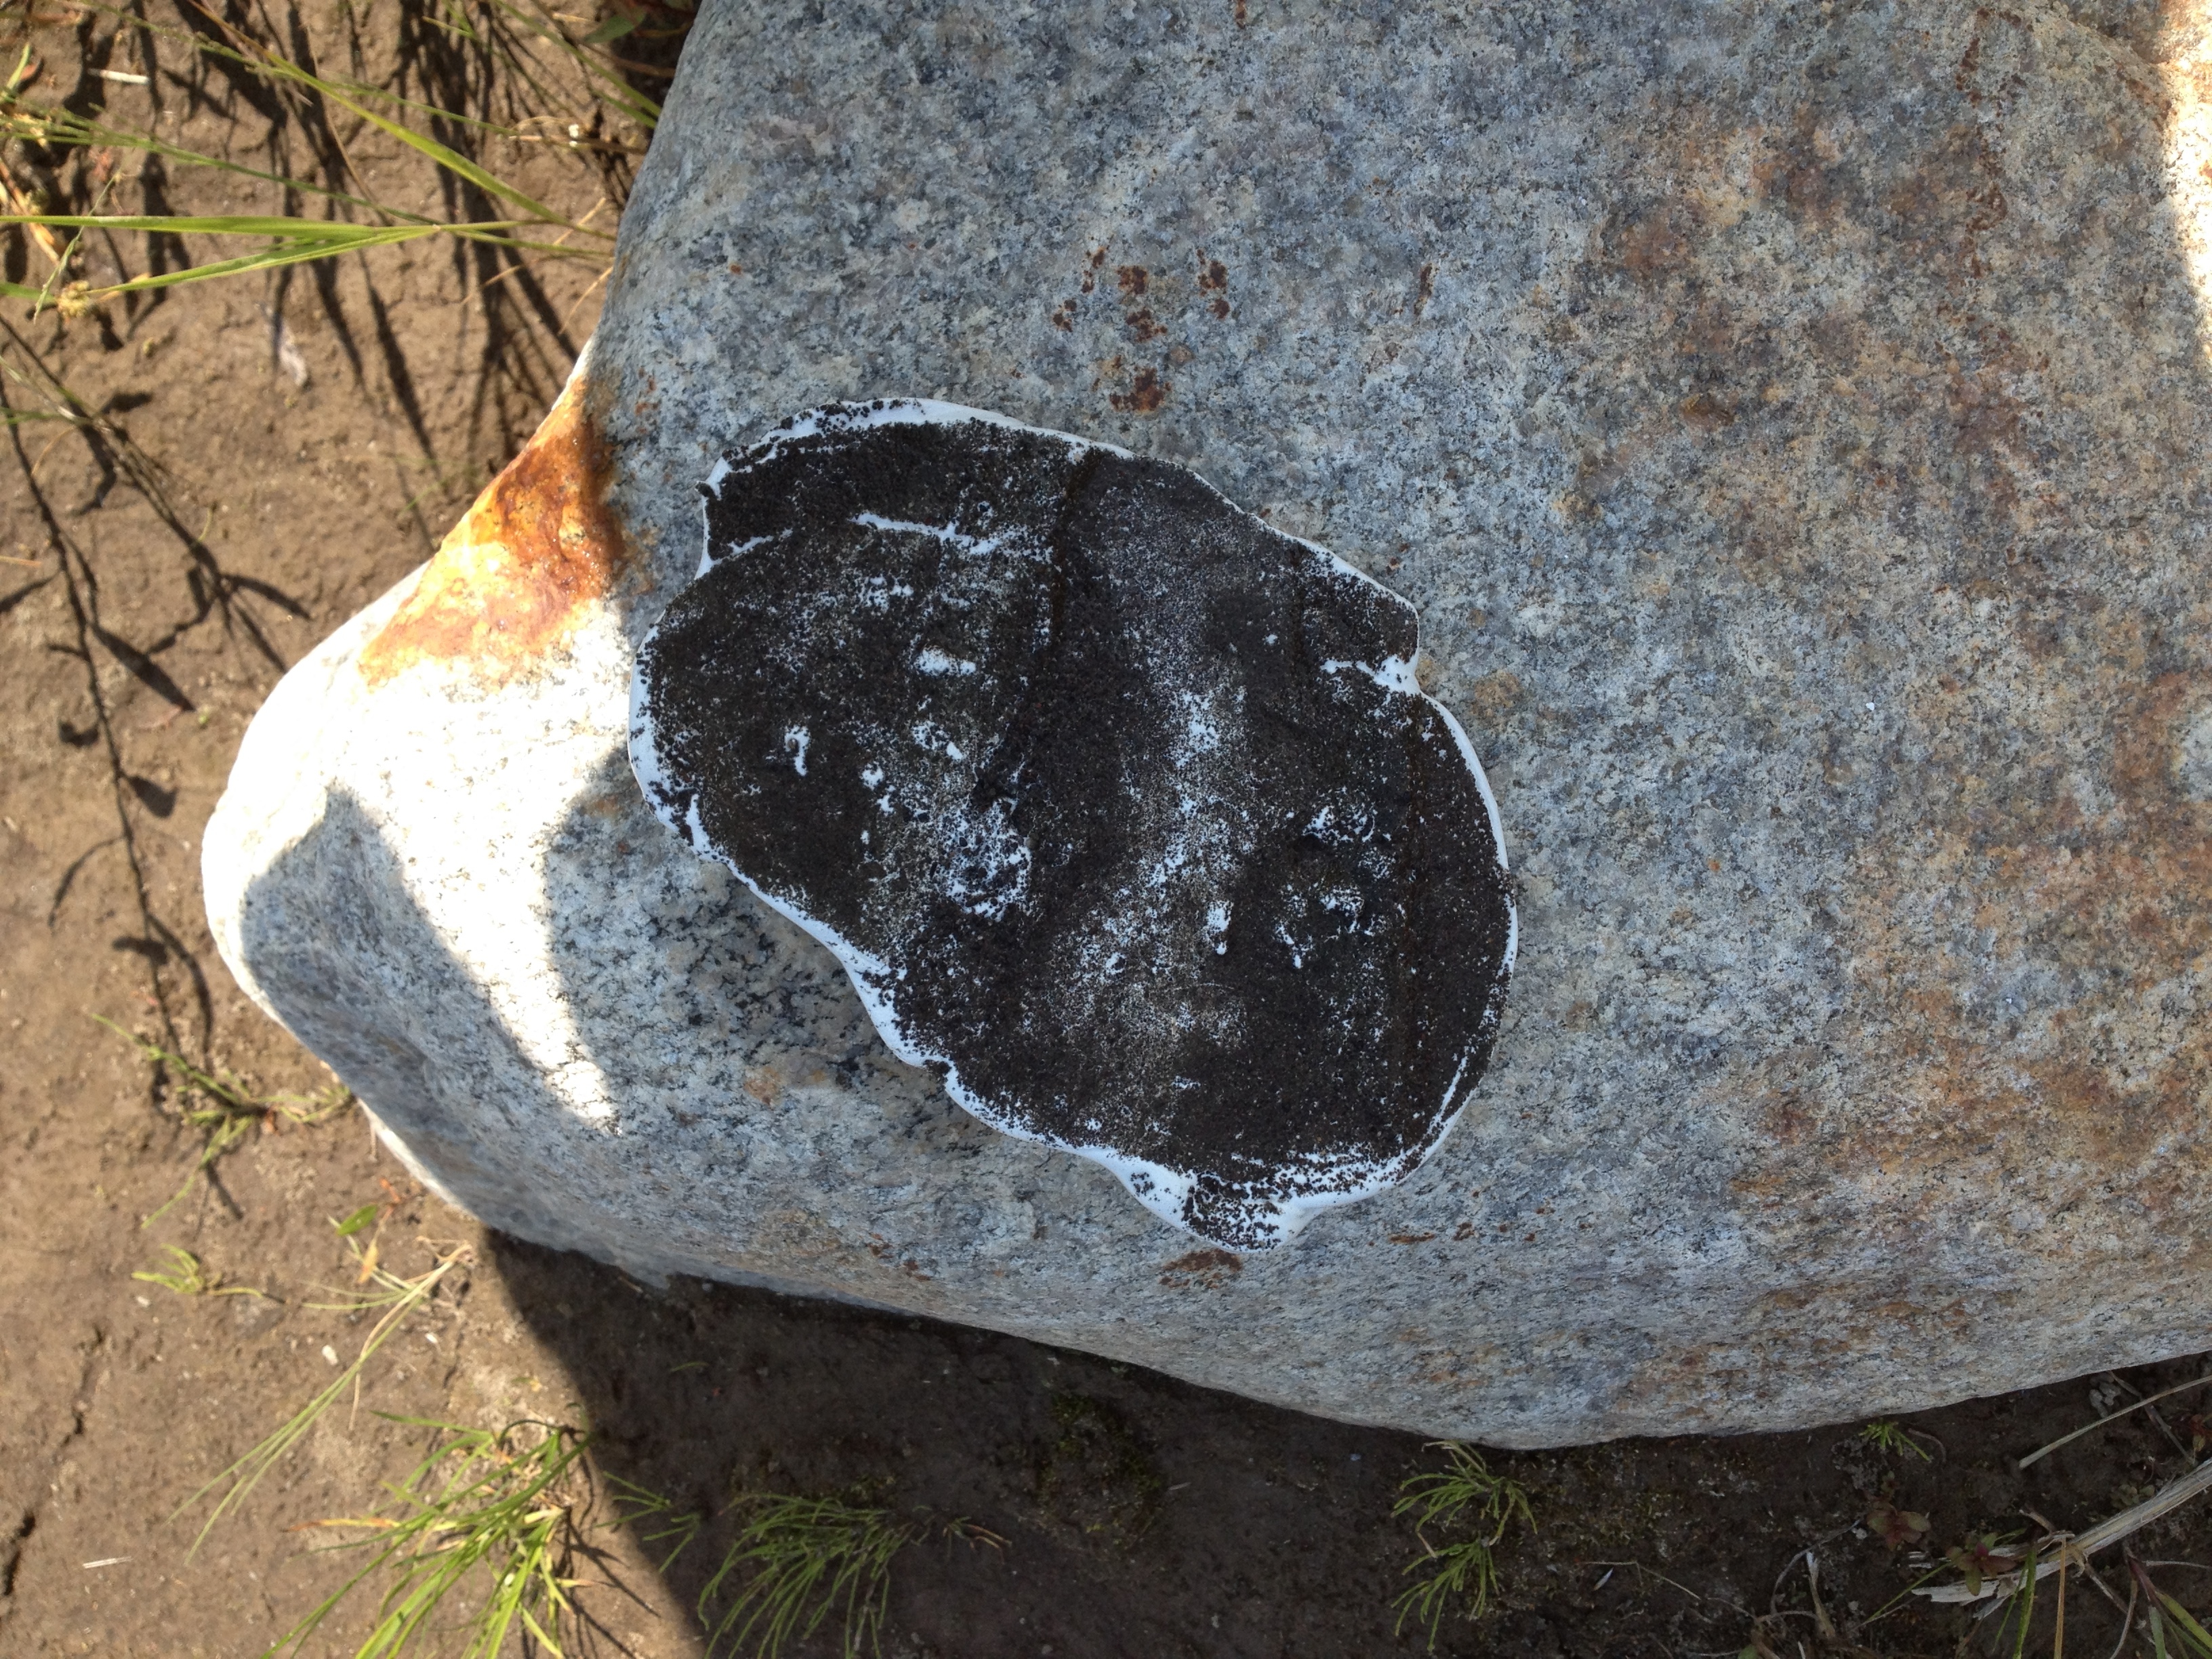
Some of the best areas for small animals are the creek sides. Larger wildlife course the entire stream. I cross the river over and over, checking in the wet sand and mud for tracks and finally find a set I want to cast.

I found some tracks that are interesting enough to cast
The first order of business is to set up my casting materials. You need to bring Plaster of Paris, a larger cup for mixing (I suggest 2), something to hold water to pour into your mixing cup, and a sturdy spatula. I bring a garbage bag as a table to prevent the plaster from getting everywhere. Keeping the stream area clean and free of plaster is important.

Simple tools you need for your cast
On the left you see my large tub of plaster. I bring a lot in case I want to make several casts. On the right is my 16oz. plastic cup with the plaster.
Around the tracks you want to cast, make a circular dam with the surrounding sand. This will be the edges of your cast and prevents the plaster from just flowing everywhere.
Now fill your cup with plaster and add water a little at a time. You want the consistency to be like cake batter. Mix well with the spatula. If it’s too runny then it won’t set correctly or will just take way to long to set. Too hard and you won’t be able to pour it. Make sure all the lumps and dry plaster are gone and mixed well.

The plaster is setting. Takes about 15-20 minutes depending upon weather and sun exposure
Today I was having a hard time because it was so hot the plaster was setting up quickly in the cup before I had a chance to pour it.
Pour gently into your tracks and the mold area. You want to be certain that the plaster gets into the tracks and there are no bubbles. Once the mixture fills the casting area, you can lightly tap and smooth with your spatula to get rid of any air pockets. Don’t make the cast too thin or it will be fragile when dry.
The best thing to do while waiting is to look for more tracks. Work one direction as you cast prints, then backtrack to retrieve your casts. It takes, depending upon the weather and wetness of your site, about 15 to 20 minutes to set fully.
Once hard, pull up gently. You can wash the sand and dirt off in the river, but don’t scrub it at this point. The plaster will not set up full until thoroughly dry, probably the next day. Be gentle with these new casts as they can break easily.
Cast removed from track. Still fragile. You are seeing dirt and sand
Once dry, you can wash the cast outside and rub more dirt off. Don’t rub it too clean as the dirt provides contrast enough so you can see the track more clearly.

Cast on right is dry and finished. Left is today’s cast. It’s dry enough to wash but not to completely clean. Same animal, different days.
Use a permanent marker on the back of the cast to date it and put the location where you found the track.
Now all that’s left is to identify your track. Anyone have ideas what this animal was?
Filed under: Mustelids | Tagged: how to cast a track, plaster casts, Tracking |

Hi Leslie. The track looks kinda like mink. I find a plastic ring cut from a gallon bottle (for large tracks) or a large yogurt container makes a nice clean “dam.” I’ve also found putting plaster in a Ziploc, adding water and mushing it around, then pouring it out, works pretty good. Both methods of course generate more plastic trash than your method.
LikeLike
Chris, you are correct. That is a mink. But sizewise it does come into the range of a long-tailed weasel too. Habitat suggests a mink but I do have to say that a few winters ago I found what I assumed to be mink tracks by the river. I put a camera there, baited a small box, and looking at the photos when I expected to find a mink I was surprised to see a weasel. I assumed the habitat was mink and didn’t know weasel might use the creekside as well.
Thanks for those interesting tips. I like them. The method I was taught that I described came from tracker Jim Halfpenny.
LikeLike