• BOOKS ABOUT WILDLIFE AND HEALTH

  • My latest book available in paperback and eBook formats

  • Available from Amazon paperback or Kindle

  • Updated w/double blind study results. Ebook or paperback

  • New updated edition available NOW!

  • Recent Posts

  • Tracking Footprints

  • Archives

  • Top Posts

  • Pages

Tips for Low Water Gardens

As a landscape designer, I had a large library of reference gardening books, yet there were a few that I used over and over again.  When I moved my home to Wyoming, I pared down my gardening library, taking with me what I considered the best and most essential books.

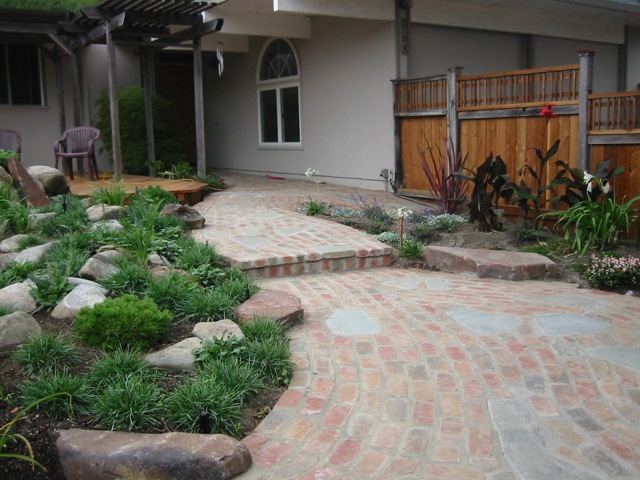
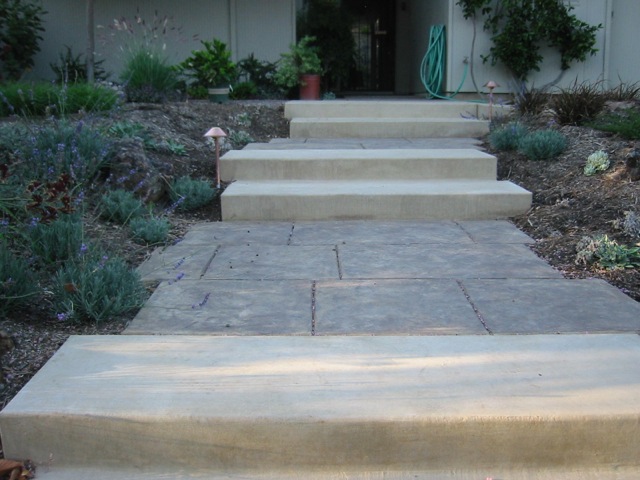
If you are looking for a low water garden, here are some of the best reference books out there.  For a good guide to help you start planning your low water garden, please see my eBook Gardening for a Dry California Future  I also give you step-by-step instructions for a native lawn or meadow, edible low water plants, as well as tips on how to irrigate and zone for reduced watering.

Rock with succulents

Below are my top recommendations:

1.  Plants and Landscapes for Summer Dry Climates of the San Francisco Bay Region by East Bay Municipal Utility District (East Bay MUD).  I might consider this book a good primer for those who are beginning gardeners or homeowners.  The oversized format has wonderful glossy photos and it is of course put out by the water district.

2.  The New Book of Salvias by Betsy Clebsch.  This book has been around for some time and is still considered the best book on the subject.  Salvias are such a great addition to one’s low water garden. There are ones for sun and shade, small and gigantic.  Clebsch has grown them all and gives you growing tips galore.

3. ¨Designing California Native Gardens by Glenn Keator and Alrie Middlebrook.  Keator is considered one of the leading botanists in California, an expert on oaks and California natives. Need I say more.

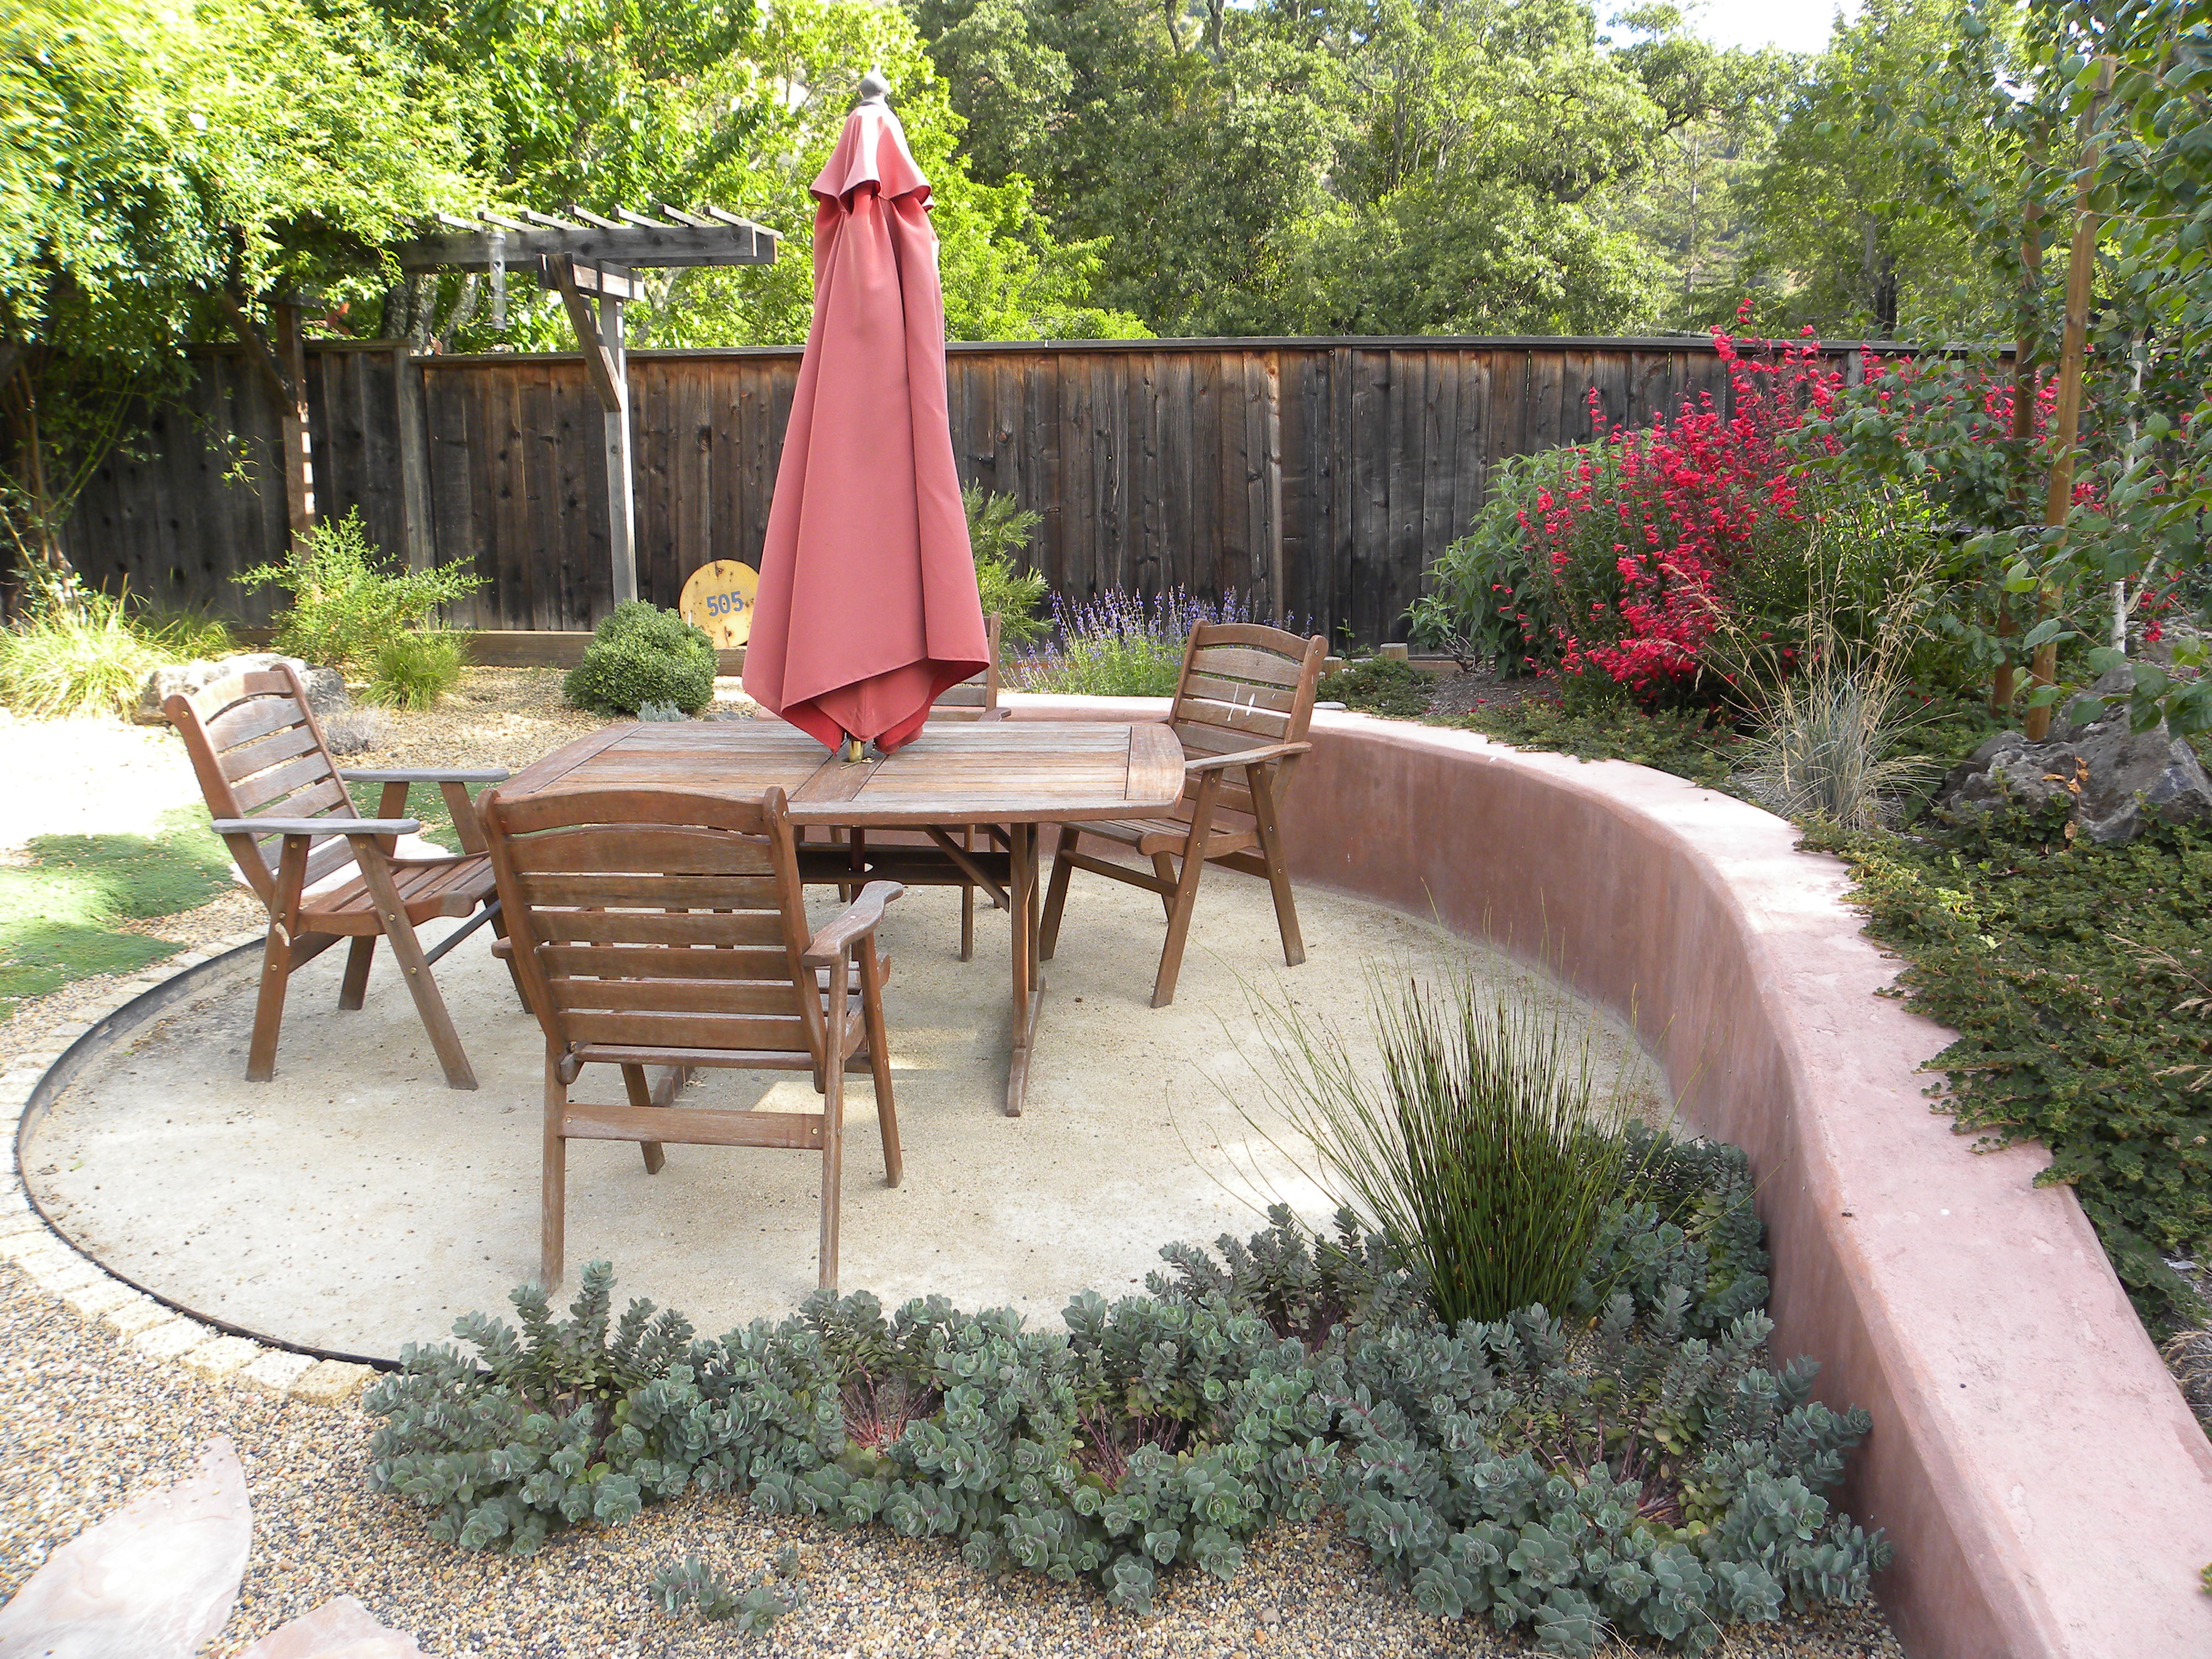
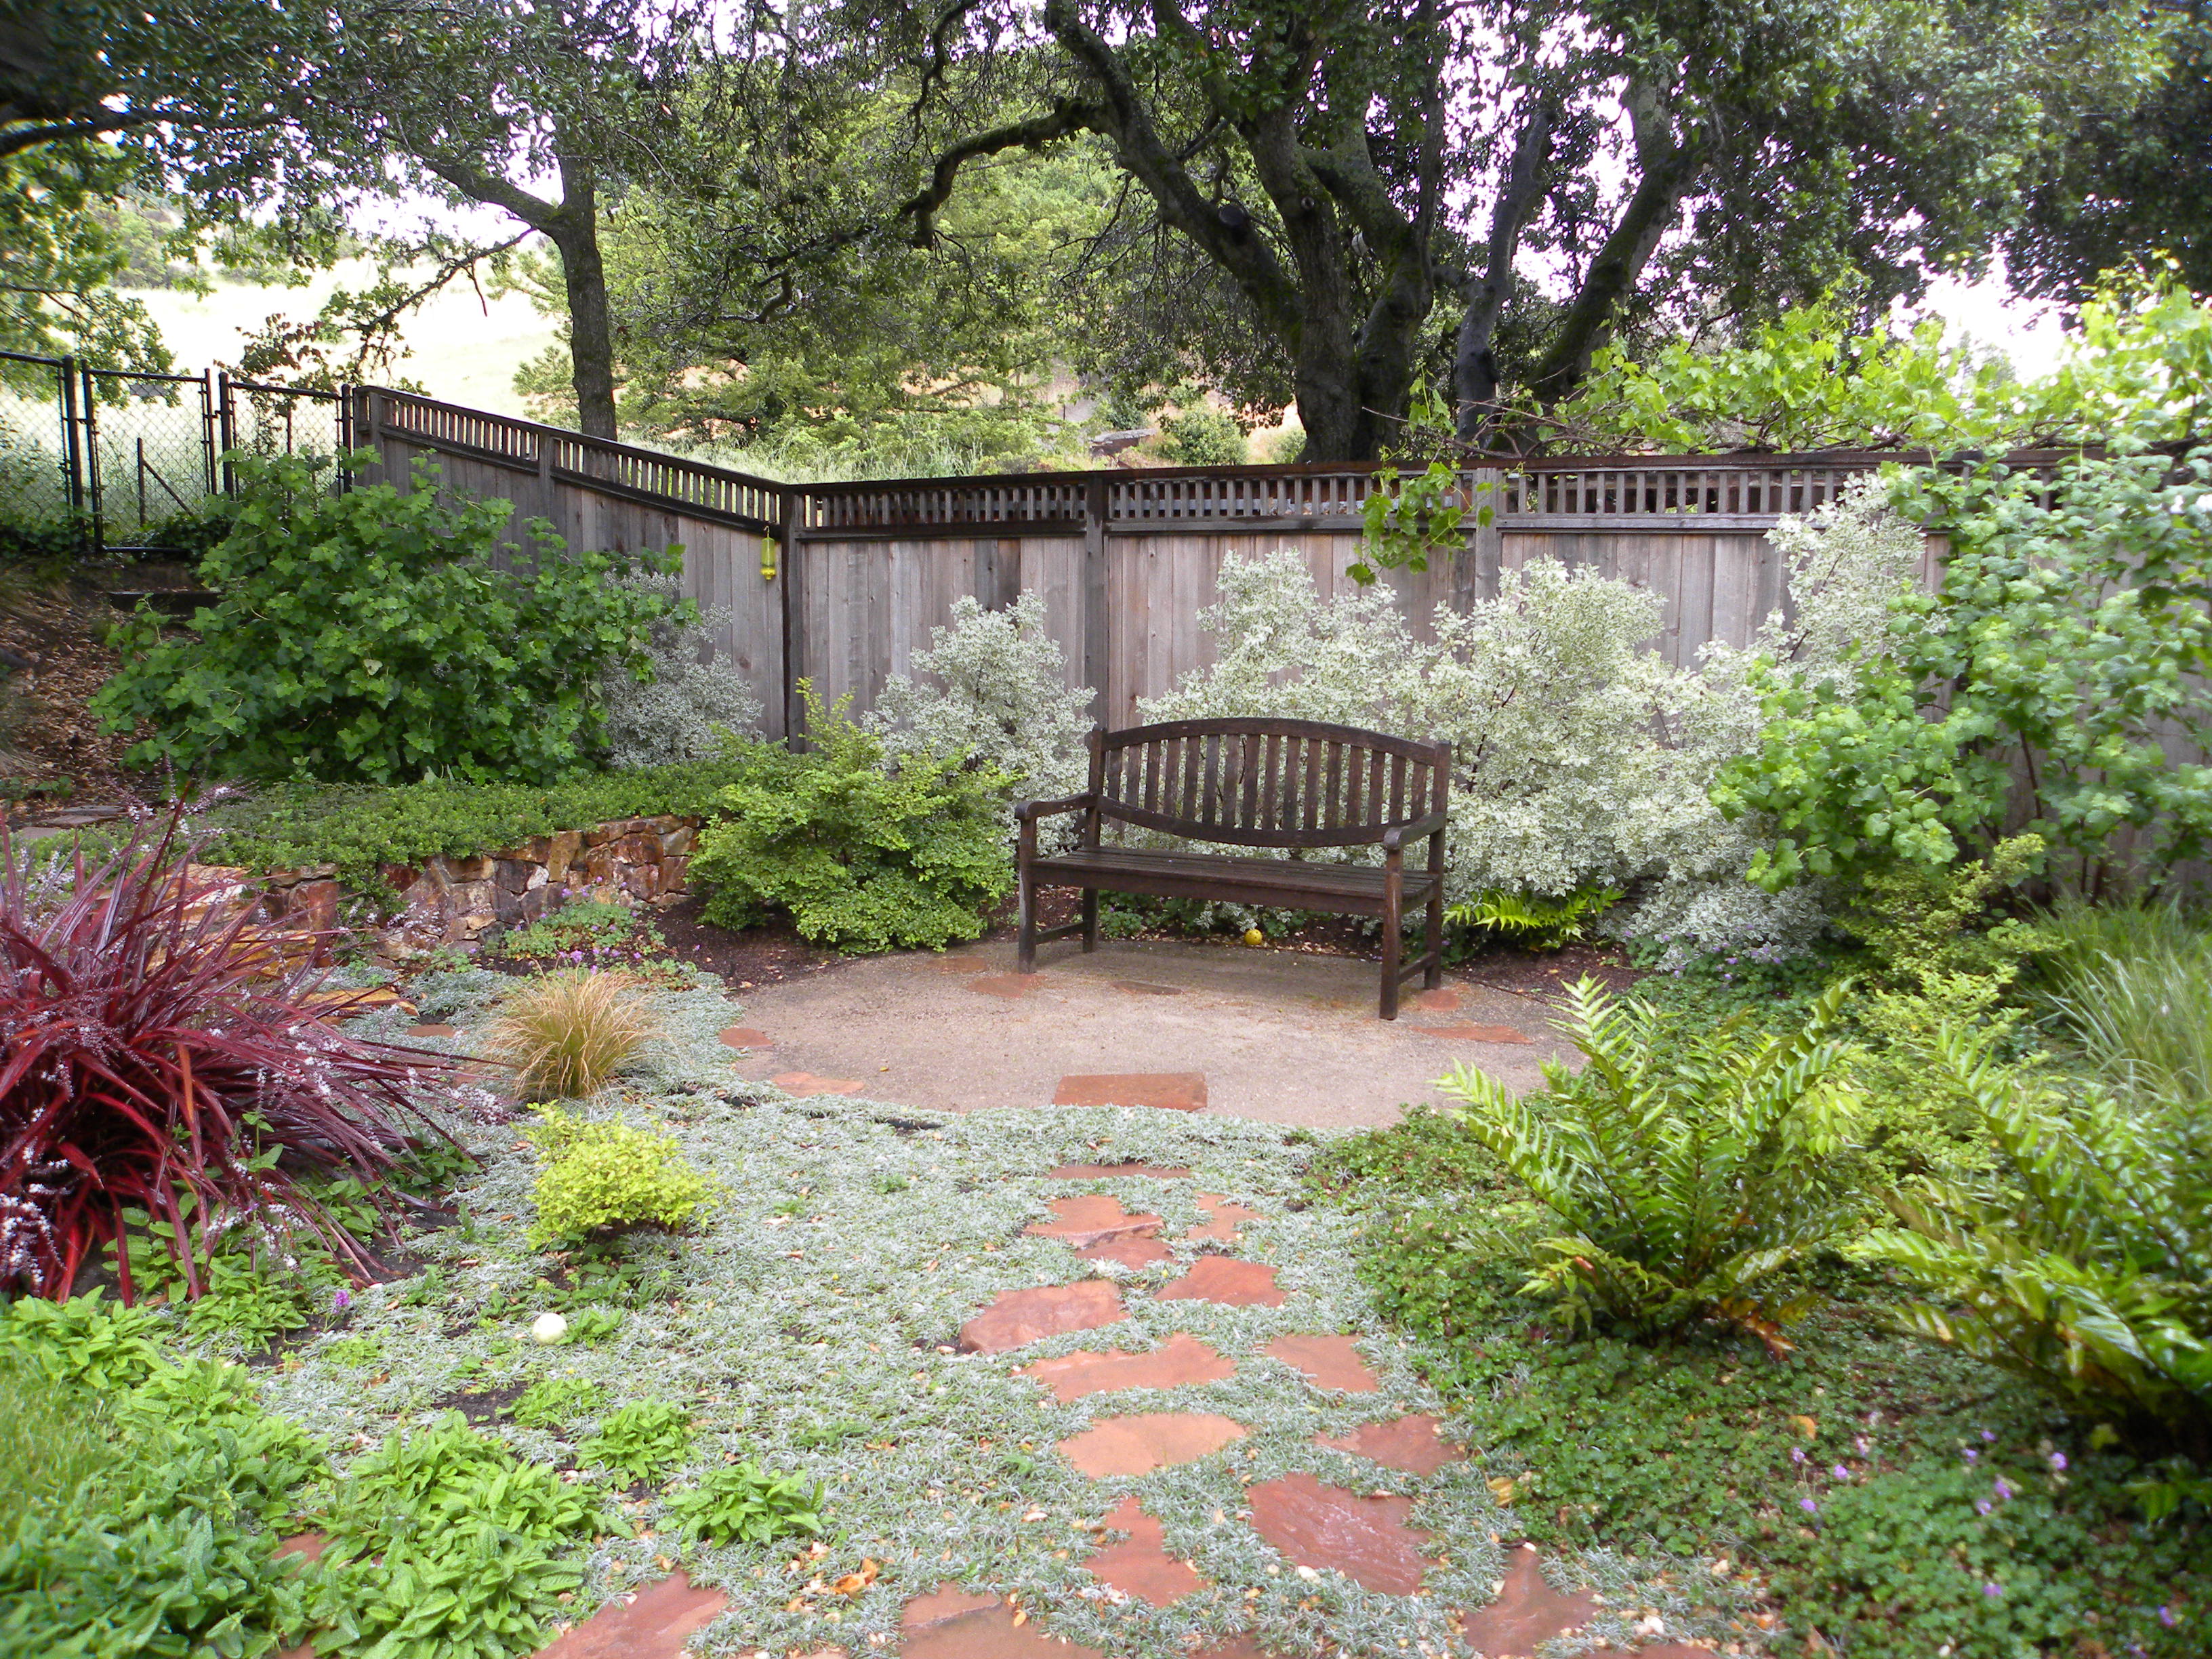
4. Beth Chatto’s Gravel Garden.  Drought Resistant Planting through the Year by Beth Chatto.  Although Chatto is from England and her gravel gardens were an experiment there, she is right on the mark for California. This is probably the book I used the most in designing low water attractive gardens.  You’ll droll at the photos and her wonderful plant combinations.  And gravel is the quintessential mulch to retain water.

5.  Agaves, Yuccas, and Related Plants by Mary and Gary Irish.  If you are planning a succulent garden, this is one of the best reference books out there for the larger plants and how to use them in a design.

6. California Native Plants for the Garden by Carol Bornstein, David Fross, and Burt O’Brien.  These are the top people in the plant world.  Bornstein was the horticulturist for the Santa Barbara Botanical Garden for 30 years.  Fross owns Native Sons nursery.  A must have to understand California natives and their culture.  Fross also wrote the comprehensive book Ceanothus, but that book is probably too horticulturally geeky for the average gardener.

7. Mediterranean Gardening: A Waterwise Approach and Gardening the Mediterranean Way: How to Create a Waterwise Drought-Tolerant Garden both by Heidi Gildemeister.  Mediterranean is what we have in California climate.  You will get good tips and photos from these books.

8.  Native Treasure: Gardening with the Plants of California by M. Nevin Smith.  Smith is the Director of Horticulture at Suncrest Nursery in Northern California.  For years I coveted a hard-to-get in-house printing that described all of Suncrests plants and their culture, written by Smith.  Hard to find a person more experienced in plant material than this man.  Suncrest is one of the top nurseries in California, growing and introducing new plants all the time.

9. Elegant Silvers: Striking Plants for every Garden by Joann Gardner and Karen Bussolini.  I include this book because all plants silver are low water plants.  Plus silver is a good foil and contrast against other plants in the garden.  Good photos and information.

Dry CA

Decomposed Granite Stabilizer!

Decomposed Granite Stabilizer Crushed Stone are the most widely used natural alternatives to asphalt and concrete pathways. An expensive but new product is out on the market that creates a hard surface for Decomposed Granite pathways and patios.

This product, called TerraKoat, is sprayed on with the instructions below.

Decomposed Granite Stabilizer

One note:  There are other liquid stabilizers out there that DO NOT work. This is because the solids content of these other products (like G3) is lower than the TerraKoat.

What that really means is the company that makes the G3 waters it down. Another difference is that the TerraKoat contains a proprietary admixture that increases the longevity of the surface. Wheeler Zamaroni has compared both products in real life applications and they found that with TerraKoat you end up with a stronger more durable surface.

Therefore, if you are NOT using TerreKoat, then use a powdered stabilizer.  TerreKoat costs about $15 gallon.  A gallon will do about 20 sq. ft.

Here are the instructions from their application sheet.  You will notice that they recommend preparing the surface just as I do in detail in my eBook Decomposed Granite and Other Materials for Walkways

TerraKoat EX Industrial Strength Stabilizer

1. AGGREGATE SELECTION FOR FINAL SURFACE: Select an aggregate that contains a variety of sizes. For instance, crushed stone mixes such as 3/8 minus, 1/4 minus or 3/16 minus work well with TERRAKOAT STABILIZER, where as single size aggregates like 3/8 rock or pea gravel are not suitable.

Screenings with extremely high fine content are not suitable either. To ensure compatibility of selected aggregate with TERRAKOAT STABILIZER, prepare a test area.

2. STRUCTURAL STONE BASE PREPARATION: Before starting the actual project, factors such as climate, native soil type, amount of use, should be taken into consideration. As a rule of thumb, “The better the base preparation, the better the results.”

For optimum performance, install 4 to 6 in. of 3/4 minus crushed stone, then compact using a vibratory plate compactor.In restricted areas where a compactor will not fit, use a hand tamper.

3. SURFACE AGGREGATE: Spread surface aggregate over the compacted structural stone base. Rake or screed to the desired level, and slope to allow water run off. Do not compact until after TERRAKOAT STABILIZER has been applied.

4. APPLY THE TERRAKOAT STABILIZER: Using a watering can or pump sprayer, apply the TERRAKOAT STABILIZER to the surface at the rate of 20 ft2 per gallon for residential pedestrian use, or 15 ft2 per gallon for commercial pedestrian use. Allow TERRAKOAT STABILIZER to fully penetrate through the material

5. COMPACTION: While surface is still damp but not saturated, compact the surface with a vibratory plate compactor; 2 or 3 passes are recommended. In restricted areas where a compactor will not fit, use a hand tamper. The better the compaction, the better the results.

6. Seal Coat: After compaction spray TERRAKOAT STABILIZER over the area at the rate of 60 sqft per gallon.

Additional instructions include repairing cracks or using this product on an existing surface that was ill-prepared. For the complete instructions and additional information on TerraKoat, see my updated eBook on Decomposed Granite.

I have many readers who tell me their installer did not apply the DG correctly.  Depending upon the circumstance, this stabilizer might be very useful.

Decomposed Granite sunken patio edged with stone and Ryerson's header.

Decomposed Granite sunken patio edged with stone and Ryerson’s header.

Instructions for rebuilding AN EXISTING SURFACE

1. Scarify or rototill 1 inch of the surface, break up any clumps, making any necessary repairs, and add new surface aggregate as needed.

2. Apply TERRAKOAT STABILIZER at the rate of 15 ft2 per gallon; allow liquid to penetrate.

3. Compact using a vibratory plate compactor. In restricted areas where a compactor will not fit, use a hand tamper.

Instructions for maintaining AN EXISTING SURFACE:

1. Apply TERRAKOAT STABILIZER at the rate of 20 to 45 ft2 per gallon. Some judgement will be needed, as consideration for absorption and desired results should be taken into account.

Decomposed Granite path at the Getty Museum L.A.

Decomposed Granite path at the Getty Museum L.A.

2. Compact any loose areas.

As in my eBookTERRAKOAT recommends 3-6″ compacted Base Rock with a vibration compactor and a 2″ surface of DG.  If you are using the Strybing Arboretum method because of poor drainage etc., then only 3/4″ of DG is needed.

For complete instructions on how to install a Decomposed Granite patio or walkway, see my eBook

Smart Urban Planning and Wildlands–an interconnection

As a horticulturist and wildlands advocate, I heard a story on yesterdays Science Friday that got me pondering.

The essential jest of the story is that trees, like all plants, emit different chemicals, many of them considered toxic.  Plants do this for a variety of reasons.  Some might attract pollinators, others to ward off predators.  Of course we’ve all known this for years.  That is why some plants have medicinal uses, while other plants might give you a terrible reaction.  But we have never considered that trees might be doing the same thing and those chemicals could be reacting in negative ways with pollutants in our cities air.Japanese Maple

In this short segment Biologist Todd Rosenstiel explains some of the studies being done at Portland State University–that we only know a few of the emitted chemicals–like turpenes–and there are many more we are still investigating.  He explains how these chemicals can react with ozone in polluted atmospheres to create more pollutants.  Some trees make more of these toxic chemicals than others; and also chemicals might begin as toxins yet then combine with ozone in such a way as to actually scrub pollutants out of the atmosphere.

As a horticulturist, I’ve planted thousands of trees in suburbs and cities.  I’ve thought of problems like soil, sun, wind, climate, insect resistant, etc.  But this is an entirely new area of study.  For instance, Rosenstiel points out that Oaks are big emitters of these toxins, while Maple not so much.  But we can’t just plant Maples; we also need a diversity of trees in cities.

That got me thinking again about livable cities and how proper city/suburb planning is an important tool for saving our wildlands and wildlife.  Proper planning so cities become more self-contained–growing their own foods [using rooftop year round gardens], solar power that is concentrated within the immediate area [rather than generated from massive wind/solar farms in fragile desert habitat or energy trucked from far away], green spaces for recreation, smart transportation, clustered housing, and other techniques will make the need to ‘escape’ less, and preserve lands for wildlife.

Rooftop garden

Cities/suburbs in general should be planned with wildlife in mind.  Although cities won’t be having elk or wolves running around, there are ways to plan for wildlife corridors.  Los Angeles as well as Santa Cruz’s Highway 17 are good examples of needed cougar corridors.  While there is good habitat around the edges, freeways block corridors cougars use.  And living with wildlife that has learned to exploit urban centers, such as mesopredators and their prey, –coyotes, foxes, raccoons, deer, possums, fishers–will enhance city living.

Urban coyote rests mid-day in local cemetary

Urban coyote rests mid-day in local cemetary

Smart city planning for liveable cities, which seems to now include taking into the account the chemical biology of trees–is a necessity if we want to inhibit the sprawl that now threatens some of last remaining wildest lands in the United States.

Jade Lake near Bonneville pass in the Dunoir

Jade Lake near Bonneville pass in the Dunoir

How to choose boulders for any garden

Choosing and placing boulders for your landscape job is an art.  The Japanese have several years of study on just rock placement.  But you can do a great job with just some sensitivity and a good eye.  Here are the basic tips.

I usually suggest choosing local or fairly local boulders.  This keeps your costs down and usually blends in better with your yard.  For instance, Sonoma Fieldstone in California costs approximately $125/ton vs. beautiful 3 Rivers rock, an Idaho import to California, at over $450/ton.

But sometimes you just fall in love with a type of rock and must have it.  In that case accept you’ll be paying for it.  Or maybe your area has junky looking local boulders.  I suggest then to pass on them and spend the money for the nicer boulders.

In order not to hide the view, plants and rocks aren’t too tall

So how do you choose and what is a nice boulder? First, no potato boulders!  Second, look for lichen.  Lichen grows extremely slow, something like 1″ every 10 years.  Lots of lichen is good.  Moss is easy to establish with a little water and buttermilk, so don’t necessarily choose boulders for the moss.

Every boulder came out of the ground and has a bottom and a top, a front and a back.  The bottom won’t have any moss or lichen on it. Check as many sides as you can.  Have the yard manager turn them over for you so you can see what each boulder looks like.

.That’s their job.  Choose boulders that have a lot of interests such as pockets, unusual shapes (watch out for boulders that were broken during transport.

That is not an unusual shape), and usually I try to find a few boulders that have a natural water bowl that I can use for birds.  I’ll put a hidden irrigation emitter behind the bowl so it stays full with each watering. Fourth, go for medium to large boulders.

The mistake everyone makes is putting in dinky rocks that disappear once the plants grow in.  Remember, in order to look natural, you’ll be burying part of the boulder.  Bigger is better, but unless you want to use a crane, make sure you have boulders that a crew of 4 or 5 guys can move.

That would be about 250-350 pounds/boulder in general.  If your landscape is vast, you might need much larger boulders.  If so, usually the yard rents a forklift with a driver for about $75-$100/hour which is worth it.

Large plants behind low boulders

I usually choose a landscape yard that will deliver these boulders with a forklift no extra charge.  Most of them do and for the price included in the delivery they will lift each boulder off their delivery truck, one by one, and place them near where you want them.  That saves a lot of time for your crew.

Placing the boulders:  First, consider your entire design and where you need to cluster boulders.  Boulders should be placed in 3’s, 5’s, 7’s, etc.  NEVER place boulders so they are in a row.  This can happen inadvertently when you have a cluster in one location and one in another, then you’ll notice that three have been placed in a row.  Move them in that case to offset the row.

As said before, boulders have a front and back.  Consider where you’ll be seeing the boulder from.  I usually like to place boulders of varying sizes together and I tend to triangulate the 3some’s and continue that style with larger groups.  You NEVER want a LONELY boulder!

Boulders looking bare before the plants have matured

Your client, or if you are a homeowner, will look at all these boulders on bare ground and think they look huge or stand out too much.  They don’t and they won’t once the plant material is in.

Succulents with boulders; look for lichen, not moss, on rocks as this one has

Placing the plants around the boulders:  Of course, here you will consider your size of plants.  I love for plants to peek out behind boulders, or have ground cover crawling over and in front of boulders.  Usually your larger plants will be behind your boulders or alongside them.

Stone edging along sidewalk. small boulders with succulents

Rock seat

Rock Seats: Finally, a few things to know about boulders for seating.  First, boulders used as seating around a patio or in the garden are a wonderful addition to the garden.  The natural height for a seat is somewhere between 16″-20″ tall.

Your desk chair usually runs 16″.  The top must be flat with a good base that will be buried some in the ground.  To place boulders in concrete around a pour, the boulder seat area must run 22″-25″, depending upon your final desired height.  This is because at least 4-6″ will be embedded in the concrete.

Boulder seat

Occasionally you’ll run across a boulder so fantastic, so unique, that you just have to have it and show it off.  In that case, why not light it up.  this jasper was just too delicious to pass up.  It is imbedded in the concrete pour and you can see a light at its base that displays it.

The Jasper is on the far left of photo with a light imbedded at its base

More great, reliable plants for California landscapes

Here are a few more of my favorite plants, easy, reliable, and striking, and different than the usuals out there.

Tree Dahlia

Tree Dahlias grow 10′ tall in one season and bloom late in the fall.  Sometimes an October storm will knock off the blossoms.  But you don’t have to grow this Dahlia for the flowers.  The exotic tropical looking foliage will be a show stopper.  Cut to the ground in winter, it grows fast as soon as the earth begins to warm in the spring.  Comes in white, and rarely as a double flower.  Takes full sun and low water.  Forms a fantastically large tuber.

Heuchera 'Wendy'

My favorites of plants.  Heuchera ‘Wendy’ was pioneered by Rancho Santa Ana Botanical Garden, a cross between our native Heuchera maxima and Heuchera sanguinea.  I feel that ‘Wendy’ is the most spectacular of the cultivars (there are several out there).  Flowers are light pink-peach, very tall, and bloom endlessly and profusely.  The plant is tough like our native Heuchera, taking low water, dappled shade.  Put this in one of your more difficult dry shade spots and let it sing.

Anthriscus Ravenswing

This plant is actually a Chervil.  A low plant for shade and average water, it provides striking contrast in your combinations.  Difficult to find but very easy to grow.

Cardoon

Wow, I love this plant.  Obviously drought tolerant, people will gawk.  Its large, bold leaves offset pinks and purples for contrast.  The thistle purple flowers in the late summer I feel take away from what I grow this for–the leaf structure.  If you let it, it will reseed generously and you will have these as long as you want.  Just transplant the seedlings where you want them and give away the extras to friends.

Crocosmia hybrids

Crocosmias are such underused bulbs.  They are heat loving, low water, summer blooming stunning flowers.  ‘Emily McKenzie’ is one of my favorites, with the double advantage of smoky foliage.  And they multiply, like bulbs do, easily.  They bloom late summer for a long time.

Epilobium californica and hybrids

These are still Zauschnerias to me, but the splitters long ago put them into the Genus Epilobium.  A wonderful California native, they bloom in the fall and are either no water or low water.  They come in different heights (6″ to 36″), some have grey foliage, and are a magnet for hummingbirds.  Can’t be beat.

A few great (and reliable) plants for California landscapes

I’m done with my California winter installations and hoping for some spring Wyoming weather.  But right now it’s the last vestiges of planting time in California before the summer heat so get going and order up some of these fantastic plants.  These are a few of the reliable, unusual, and color interesting plants I love to use in my designs.  I have two places I mail order from.  I’ve tried many mail order companies and these are three of the best.  One is Digging Dog Nursery and another is Cistus Nursery.  They have a great selection, and best of all their plants are nice and big.  One plant I get from them that I can’t get anywhere else is Acaena purpurea.

Acaena purpurea groundcover

Acaena purpurea needs average water and sun to bring out the color.  But it also comes in a grey form which is attractive as well, but usually with slightly bigger leaves.  The grey form takes heat much better and less water.  Cercis Forest Pansy is a fantastically colored Redbud.  Average water and sun again brings out the colors.  It is a small tree.  Below with the Acaena.

Here is the acaena with Cercis Forest Pansy

Let’s continue with the purple theme.  We all know Loropetalums, but if you can find it, I highly recommend Loropetalum ‘Pippin Red’.  It is a small Loropetalum, growing only to about 4-5′ (some grow 15′ so be cautious on your choices), but has a narrower leaf and retains its color year round.

Loropetalum ‘Pippin Red’

Loropetalums usually sulk for a year or two before they take off.  If you can’t find Pippin Red, there is now a dwarf red variety.

Another mail order nursery I recommend is Plants Delight.  They have fabulous plants you can’t find anywhere else, but beware, their plants are small for the price.  I used to order in the fall or winter and pot them up for spring, or grow them in pots for a year before placing in the garden.  The one plant I always get from them that I can not find anywhere else is Dahlia ‘Bishop of Llandaff’.  It is BY FAR the BEST Dahlia ever with dark red single flowers and dark purple leaves, growing 2-3′ tall.  It will ‘wow’ everyone who comes into your garden.  Don’t be without it.  Order it once and soon you’ll be able to divide it over and over.  Just remember when you divide Dahlias, you MUST have part of the root attached, not just a bulbous end.

Another couple fantastic groundcovers, reliable and neat, that I use over and over especially to accent large plants are Dymondia and Senecio serpens.

Senecio serpens in front of young succulents and bamboo

I like the smaller serpens variety as it doesn’t get large and gross but it is a bit more tender so check your zone.  Its a great blue accent and since its a succulent, low water.

Dymondia again is a workhorse.  Its a steppable that works where others will not.  Drought tolerant, likes full sun, it accents plants like this Chrondopetalum tectorum , another fantastic plant, or Phormiums.

Dymondia highlights Chrondopetalums (in background) and Libertia grandifloras (foreground)

While we are on the subject of blue, a new Podocarpus is on the market called ‘Icee Blue’.  Its a MUST HAVE.  Podocarpus are great for narrow spots, for shade, and are drought tolerant once established.

Podocarpus (in corner) with dymondia and Hellebore

Helleborus argutifolius is another drought tolerant, sun tolerant, plant I use extensively.  It is an evergreen Hellebore with chartreuse flowers in the spring which are a knockout when massed.  Also the above plants in the photo are deer proof.

Centradenia grandiflora is a new plant on the market.  It has flowers like a Bouganvillea but grows only 2′ tall.  Great tall groundcover or accent, it is evergreen and its leaves are reddish in the winter.  Here it is with another fantastic plant Cordyline ‘Festival’.

Centradenia with Cordyline ‘Festival’

Scutellaria ‘Texas Rose’ is another unusual groundcover available from Digging Dog. Also Saponaria ‘Max Frei’ is a workhorse flowering ground cover that is actually a very old cultivar but not carried by many anymore.  Digging Dog has it.

Agave ‘sharkskin’ with armerias and succulents

I, of course, could go on and on, but one more is an agave.  It is an eyestopper because it is so neat and unusual.  Agave ‘Sharkskin’, is well worth its price.  Slow so buy it in 15 gallons.

Another view of Agave Sharkskin. WOW

If you like this post of great, unusual and reliable plants, let me know and I can post some more.  If you are interested in low water gardens that still look lush and interesting, see my new eBook on Gardening for a Dry California Future.  Good Gardening!


A Sense of Place or A Sensibility of Place

In my work I can always tell where a person is from. No, not from their accent but from what kind of landscape they desire.  Usually, this is a memory deep in their subconscious from their childhood–their initial Sense of Place.

Most city people will tell you they have no idea what a ‘Sense of Place’ is, nor do they have one.  But I’d have to disagree having dealt with hundreds of clients.  It’s there, they just don’t identify it.

I grew up in the West.  Granted, it was California West, and Los Angeles, yet I spent all my summers in the high mountains of San Bernadino.  I also grew up next door to the largest municipal park in the world–Griffith Park.  Most of Griffith Park is still undeveloped chaparral.  During the 60’s when I was growing up, I probably spent all my free time roaming the hills of the Park.  My father was an avid and very good gardener.  He loved to bring home plants from around the world and see if he could grow them.  That spurred my interest in gardening.  Along with the exotic landscape of my childhood, the dry desert environments and the mountains are my sense of Place.

That sense of environmental familiarity is like comfort food when you’re sick.  I believe that it’s hard-wired into us.  For most of our time as humans on this earth, we stayed in one area.  Even if we were nomadic, we were familiar with the environments we wandered and these environments were not too dissimilar.  But now we are on the move all the time.  Most of us are ‘not from here’, and probably grew up in a completely different landscape, with different weather patterns, plants, temperatures, and cultural elements.  All that moving around, as well as living in concrete jungles, misinforms our innate senses and leaves us Bereft of Place.

With the influx of people to California from the mid-west and East Coast in the 80’s and 90’s, these people brought their sense of Place with them.  Those clients want a landscape with plants like birches, lawns, hostas, or daffodils. One client I consulted showed me a fairly steep front yard and told me he wanted lawn.  I had to educate him on why that was not possible, nor desirable in Northern California.  He was, of course, from back East.

CA Madrones--Arbutus menziesii

Garrya elliptica-Silk Tassle bush...a beautiful CA native

Even though each of us, subconsciously, desires the psychological comfort of our childhood home, I would advocate that we have to become adaptive to where we are, casting out our old sense of Place for a new one.  In our modern world where we are going ‘nowhere’ and from ‘nowhere’, in a world where our role as caretakers of the Earth is becoming increasingly critical, this is essential.

What I am suggesting is that we take a look at where we are living now, and live there for a time before changing things around.  Understand the weather patterns, where the winds come from, how much snow or rainfall you get. Look around at what is growing there naturally; consider what the birds are eating, the kind of cover they might need; see what is invasive, not-native and intruding on the landscape; notice your drainage patterns, or snowfall drifts; understand how the animals are moving in your landscape, their corridors.  Research the history of the area.  Search for those clues.  Understand historically what took place that co-existed and what occurred that altered.  Once you get a feeling for all that, then consider how you want to ‘improve’ your property, nudging it into a more harmonic existence with the natural landscape, removing the old scars of someone else’s Sense of Place.

Earliest city in Montana. Homesteaders sense of Place

Scars of people confusing their own sense of Place with the existing landscape are everywhere and all pervasive no matter where you live.  Where I live, it began with the homesteaders coming to get their free 160 acres at the turn of the 20th century, to work this rocky barren soil, or run sheep and cattle.  In order for these farmers and ranchers to work this land, they had to first move the native Indians onto reservations, then exterminate the Bison which would ruin their crops, build dams, kill natural predators, unearth mountains of rocks, build barbed wire fences, and plant non-native crops.  They did all this not because they were terrible people, but because this was their comfort zone, their Sense of Place which they tried to impose upon this foreign landscape.

What Lewis & Clark saw in Montana

Today people are still altering this area by building homes on windy bluffs for the view (when the smart thing to do is to build down in the bottoms for protection), or using cheap, non-native building materials, over-building such as Mc-Mansions, building on wildlife corridors and habitat, planting invasive species, irrigating in wasteful ways, building fences not friendly to wildlife, over-grazing, and other acts of insensitivity to this Place called the West.

People have a short cultural memory, a few generations at best.  Long ago our cultures of Place were passed on verbally, through story and song.  Today its’ what you see when you got there, or how long you’ve lived in a place, or maybe the story of just one past generation.  That lack of continuity of Story makes us fragmented people without true History of Place.

I guided school children in Muir Woods/Muir Beach for many years.  Muir Woods is a National Monument, and a very much altered, although breathtaking, environment.  There are asphalt pathways with railings to keep you from wandering among the trees and damaging them.  But no one remembers that in the 1930’s, the landscape was altered even more, as people picnicked by the stream, trampling the understory and planting lawns.  A railway actually went through the Park till 1929.  And before that it was a well traveled route of trade for the Miwok Indians.  What we remember though, is what we’ve seen in our lifetime.

Ancient sense of Place and Wonder

In the Greater Yellowstone Area, outfitters who came here 20 years ago remember many more elk than today.  They use that memory as a marker against which to gauge what they think the reintroduction of native wolves are doing to the population.  But with the 1988 fires, the number of elk exploded due to increased habitat.  Locals will tell you that there used to be 5000 head of elk here every winter; now there are only 1500.  But if you ask my 86 year old neighbor who grew up here, he’ll tell you that there were no overwintering elk here when he grew up.  And if you go back further, you’ll be hard-pressed to find evidence of much use of elk by the native americans who lived here. They mostly dined on deer, sheep and some bison.

What we need today is to develop a Sensibility of Present Place–the ability to appreciate and respond to all the emotional, aesthetic, scientific, historical, and environmental complexities and influences of where we are living.

Some Patio Notes

I recently visited some old clients and got a chance to see how their gardens had filled in.  I want to comment on just two gardens with interesting patios.

The first was an idea I cooked up.  It involved using pavers set in concrete around the edges of the patio.  Executing it was a contractors’ nightmare I suppose.  I wanted the pavers to be included in the final pour so the patio flowed together.  First we did a hand pour and set the pavers in around the edges.  You’ll notice those white things in the photo.  That’s where the planted edging around the lawn goes and we had to have a backstop for the concrete, so it wouldn’t pour into the dirt.  We used some styrofoam that could later be taken out.

The pour

The boulders to the right of the above photo are set so no concrete flows beyond them.  That area was a planted pocket.

As we poured the patio, we had to hand work the concrete into the spaces between the pavers and wipe the pavers off of the concrete.  We had to work fast and it was tedious.  Like I said, a contractors nightmare!

Carex lawn with small plants as edging

I didn’t want the concrete to butt up to the lawn.  I wanted a softer edge so I used a mixed planting of grasses and Stachys ‘Hummelo’, a small flowering Stachys which isn’t flowering in this photo, but flowers all summer long.  The lawn itself is Carex pansa.  The owner has two children who were around 10 and 8 at the time.  They were able to play ball on the lawn.

Pavers set in concrete

Originally I’d picked out a dark purple colored paver, but that was too wild for the client so we went with a more subdued look.

The client asked for a small patio/sitting area in the corner of her garden.  Instead of using more concrete, I chose decomposed granite with the addition of a few pavers in it to match.  A path of the same pavers set in soil with ground cover leads to the patio.

Decomposed granite small patio with pavers; Pavers set in Dymondia groundcover

Decomposed granite small patio with pavers; Pavers set in Dymondia groundcover

I say that a yard takes about 6 or 7 years to mature.  This yard is about 4 years old, still growing in, but I was pleased at its progress.

I also visited a garden that used the DG dusting method described in a previous post.  This garden was installed five years ago.  The DG still looked excellent, but in a few spots you could see exposed baserock.  After five years it’s time for another dusting of DG.  In making a decomposed granite patio, the major expense in materials is the DG.  At over $80/yard, doing a dusting instead of 2″ saves quite a bit of money.

Decomposed Granite patio dusting method after 5 years needs new 1/2" DG application

Decomposed Granite patio dusting method after 5 years needs new 1/2″ DG application

Decomposed Granite patio

The paver patio set in concrete looked good, although the client never had it sealed.  Sealing is really not necessary with a hard stone, but it does bring out the wonderful colors of the stone.  Here is a photo of some of the detail work we did with her patio.  My client is an artist and fun to work with.  She’s willing to take risks and stretch the boundaries.  She wanted the edges to have a ‘river’ like look.  She personally went and hand picked all the river cobbles as well as placed them herself.

Placing the edging cobbles

River rocks edge patio for an artistic look

cobble edging detail around natural stone seat

And to leave all you readers with a final funny thought:  While driving around nearby Belvedere, the most upscale and expensive neighborhood in Marin County, my son and I saw a police car parked at a prominent corner with a stop sign.  When we looked inside, there was a dummy policeman, complete with a donut and coffee mug on the dash.  I guess the wealthy citizens of Belvedere can’t afford a real policeman to deter criminals.

Belvedere ‘fake’ cop. Dummy with coffee and donut on dashboard

Edible Low Water Landscapes

The no-brainer of edible landscapes are fruit trees and vegetable boxes.  But there is more, much more, especially for gardeners in temperate climates.  Those are the climates I know and here are some great landscape plants that have edible parts, usually fruits, for your garden design process.

One of my most all-time favorites is Ugni molinae, a Chilean plant that was imported to England in the 1800’s, grown ‘under glass’ and became a favorite food of Queen Victoria.  Hardy to around 10 degrees, its a handsome small leafed evergreen shrub.  Its fruit ripens in the late fall, tiny sweet berries that can be picked and eaten or made into jams.

Ugni molinae…yum yum

The fruit

I’ve already mentioned Ribes sp. in previous posts.  These are edible, though kind of tasteless berries.  Make them into pies, jams, and jellies.

The Genus Prunus, Cherry, has lots of landscape plants with edible fruits.  They are considered landscape plants because the seeds are big, yielding less pulp, but edible they are still and birds love them.  I’ll cover just one here, Prunus lyonii, a native to the Catalina Islands so technically this is a California native.  Its a large shrub or small tree growing 15-20′, drought tolerant once established and hardy to around 15 degrees.  Evergreen, large leaves, this is a very attractive functional shrub that can be used effectively as a screen. The fruits were an important source of food to California Indians.

Prunus lyonii fruit

Another great landscape shrub used for screening that has delicious fruit is the Pineapple guava or Feijoa sellowiana. My guatemalean crew is always collecting the tasty fruit that none of my clients seem to know is edible.  Not only is the fruit edible, but frankly I like the taste of the flowers even more.

Arbutus unedo makes a fine shrub or smallish tree.  It is evergreen with reddish peeling bark.  The tasty fruit makes a nice snack.

Some other low water landscape plants to incorporate are Thornless Blackberries, Citrus of all types, Gingko biloba tree, Italian Stone Pine, Sambucus (Elderberry), Figs and other types of drought tolerant fruit trees that work for your climate.

And don’t forget many ‘weeds’ are edible such as Dandelions (when you pull them in the spring the young ones are delicious), miner’s lettuce, and nettle (must be cooked but better tasting than spinach and highly nutritious).

Veggie gardens are a great addition to gardens but they require water every day.  Why not incorporate plants into your landscape that require little water yet give produce.

For more information on low water edibles as well as low water gardening tips, see my eBook Gardening for a Dry California Future available at Amazon.

Patios hard and soft

I received a question from someone on using concrete pads underneath a DG patio, instead of prepping the subsurface with baserock material.  That got me thinking about doing a post on patios in general and what, from a designer and installers perspective I know and understand.

First a few words in general regarding different types of patios.  There are lots of different materials out there, some nice, some not, that can be used, and of course, different areas of the country will have different requirements.  As far as drier climates goes, here are the basics:

1.  Use materials like DG (decomposed granite) or concrete pavers (set in sand) when you need a permeable surface.  Many counties are now requiring with new installations a minimum of permeable surfaces to prevent massive run-off problems.  DG is useful as a patio some distance from the house in order to wipe off small bits of granite attached to shoes.  Concrete pavers are set on a sand base and come in all types, from ugly to handsome.

Calstone pavers set in sand

2. For leisure patios with furniture lots of do-it-yourselfers or people on tight budgets like to put pavers and DG together.  This works fine but keep in mind that high heels and furniture will get caught in the cracks of DG.  There are ways to minimize this.  Refer to my DG Patio book for spacing on pavers and proper installation.  You will have to convince your contractor to use my methods because it is more time intensive, but it works.

A proper installation using Arizona flagstone with decomposed granite in between. You will rarely see it done properly like this.

A proper installation using Arizona flagstone with decomposed granite in between. You will rarely see it done properly like this.

3.  For a long lasting patio that will have furniture on it, I prefer to pour a concrete base and put mortared pavers on.  Another alternative is concrete.  There have been lots of advances in concrete in the past few years.  Meaning there are lots of types of decorative concrete looks, with stains and stamps and 2 or 3 dust on colors; finishes with broom, or salt pitting, or hard trowel.  Just keep in mind that concrete is not a controllable substance and colors vary, fade, and cracks will develop no matter what.

This Decomposed Granite with flagstone patio is not done correctly.  Spaces are too big and will catch high heels and chairs

This Decomposed Granite with flagstone patio is not done correctly. Spaces are too big and will catch high heels and chairs

Indian pavers with decorative rock set on concrete base

Interesting walkway that incorporates brick, stone and boulders

Interesting walkway that incorporates brick, stone and boulders

A WORD ABOUT PAVERS:  If you decide to go for real stone pavers, I salute you.  Although concrete is cheaper, stone is beautiful and will give you lasting pleasure.  So how do you choose amongst all the choices at the yard.  First, go to a large landscape supply yard and pick out the stones you like.  Get samples and bring them home and live with the samples for a week or more.

Two types of concrete are in this walkway

Two types of concrete are in this walkway

You must map out your design exactly.  Usually the stone yard will have some basic design patterns for you to work with, or simply obtain some grid paper and go to work.  Indian pavers have flooded the market in recent times.  There are some incredibly beautiful stone and colors amongst the choices, but the stones are not all exactly to size.  You’ll have to work with this when you or your contractor lays it down, which means some of the spacing will be off.

No joints in the perfect paver

Next you must decide on the size of your joints.  Be exact in your communications to your contractor.  If you have uniform stone, you can lay them down with no mortar in between.  If you want joints, or if your stone isn’t perfect as in the Indian pavers pictured below, you must have mortar showing in the joints.

Decomposed Granite patio under willow.

Decomposed Granite patio under willow.

As far as flagstones go, there are many types, some of which I do NOT recommend because you will develop moss in the wet season and you MUST seal these types every year to prevent mold.  I discuss this more in depth in my eBook.

In general choose flagstones that are hard with small pores.  These would be stones that come from places like Montana.  Flagstones come in many names, and what’s called one name in one yard will be named something else in another, even if its the same material.  Just make sure the flagstone is dense.

Another thing you want to watch for in flagstone is how slick it is.  Slate, though gorgeous, is really slippery when wet.  I’ve heard that a little bit of sand in your sealer can help this problem.  Better to avoid it from the start.

For a more in-depth discussion on these topics, see my DG patio book.  In it I discuss all the pros and cons of different materials, as well as give exact instructions for the installation of the different mediums, whether your contractor installs it or you do.

I’ve tried to keep the price to a bare minimum and it includes all the tips I’ve learned from years of experience.  Good luck and do it right from the beginning.  Hardscape, unlike plant material, cannot be picked up and moved, and is expensive!

Also Read:-